General
Strava Overlay: How to Use It for Instagram Stories and Posts
Share your Strava route and stats on Instagram, then cut yourself out of a photo and layer it on top for a story people actually stop to look at.
You finished the run. The stats are good. But a flat screenshot of a map does not make anyone stop scrolling. A Strava overlay fixes that: your route, distance and pace sitting on top of a real photo, with you cut out and placed in front of it.
This guide shows you how to build one in about five minutes, on your phone or your laptop. No design skills needed.
Quick summary: export your activity as an image from Strava, remove the background from a photo of yourself, then stack the two in Instagram Stories or any free layout app.
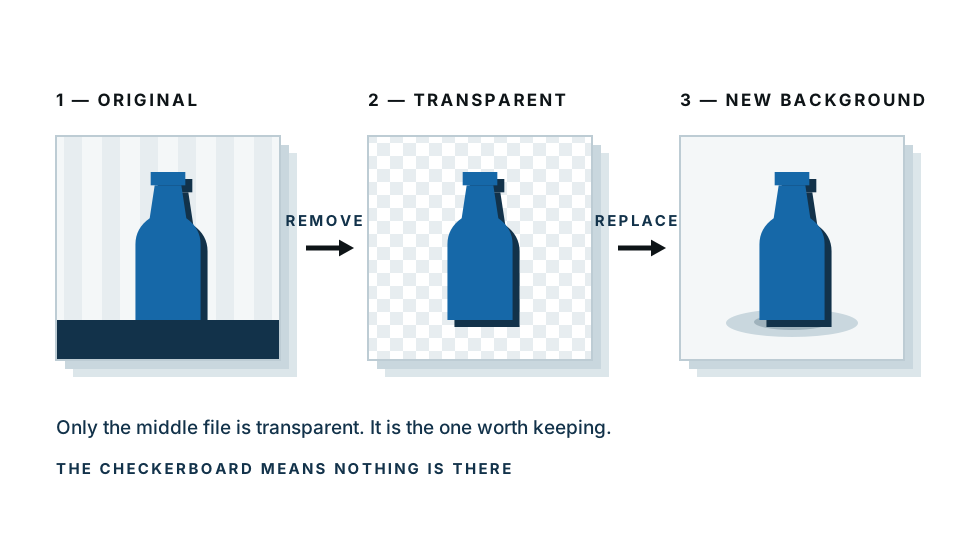
Want to jump straight to the cutout? Remove the background from your photo and come back with a transparent PNG.
What is a Strava overlay?
A Strava overlay is your activity data — the map line, distance, time, pace, elevation — displayed on top of another image instead of on Strava’s plain background.
There are two ways to make one:
- Strava does it for you. The app exports your stats over a photo you pick from the activity or your camera roll.
- You do it yourself. You export the stats with a transparent or plain background, then stack the pieces however you like.
The second route takes a few more taps but looks considerably better, because you control what sits in front of what.
How do you share a Strava activity as an image?
Strava has this built in. You do not need a third-party app for the data part.
- Open the Strava app and tap the activity you want to share.
- Tap the share icon in the top right.
- Choose Share as image.
- Swipe between the layouts. You will see options for a map, a stat card, a photo with stats over it, and animated route options.
- Pick your stats. Tap the small stat chips to toggle distance, pace, time and elevation on or off. Fewer is better — three numbers read cleanly, six do not.
- Tap Next, then send it to Instagram Stories.
That gives you a working story in under a minute. If that is all you need, you are done. Keep reading if you want the version where you appear in front of your route.
Which layout should you pick?
| Layout | Best for | Watch out for |
|---|---|---|
| Map only | Showing off a route or a new area | Reveals where you ran — crop it near home |
| Stat card | Personal bests and big numbers | Looks generic on its own, needs a photo |
| Photo with stats | Everyday posts | Stats can land on a busy part of the photo |
| Animated route | Long rides and races | Larger file, slower to upload on mobile data |
How do you put yourself in front of the map?
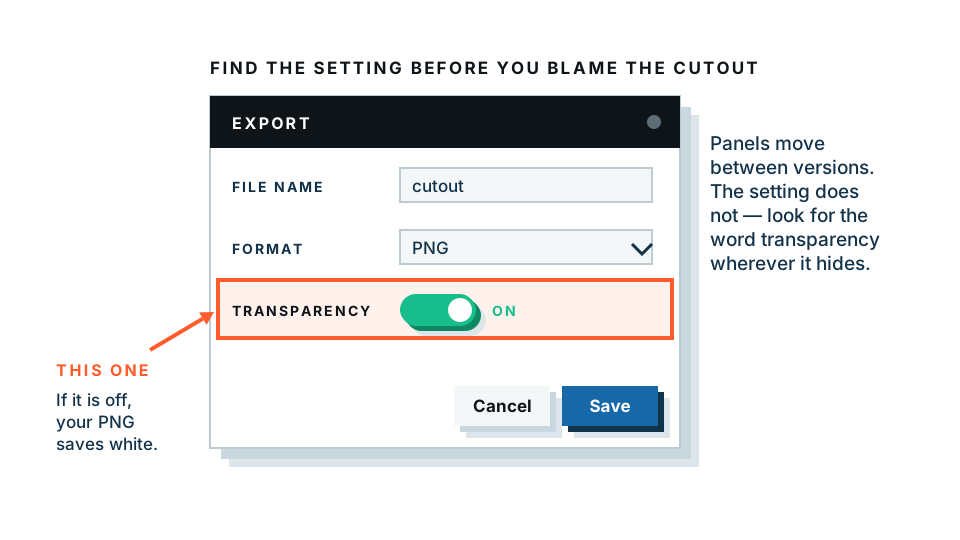
This is the part that makes the post look designed rather than exported. You need a photo of yourself with the background removed, saved as a PNG with transparency — meaning the area around you is genuinely empty, not white.
Step 1: pick a photo that will cut out well
Cutouts work best when there is a clear edge between you and whatever is behind you.
- Stand a metre or two away from a wall, a hedge or open sky.
- Avoid backgrounds that match your kit colour.
- Full body or waist up both work. Full body lets you stand on the route line.
- Take it in daylight if you can. Even light means fewer weird edges around hair.
Step 2: remove the background
Upload the photo and let the tool find your outline. The background remover does the cutting for you, and the free preview runs entirely inside your browser — your photo never leaves your device. That matters more than it sounds when the photo is of you, at your local park, on a route you run every week.
Check the edges before you move on. Hair, sunglasses and a raised arm are the usual trouble spots. Zoom in on the preview and confirm nothing important got trimmed.
Step 3: save it as a transparent PNG
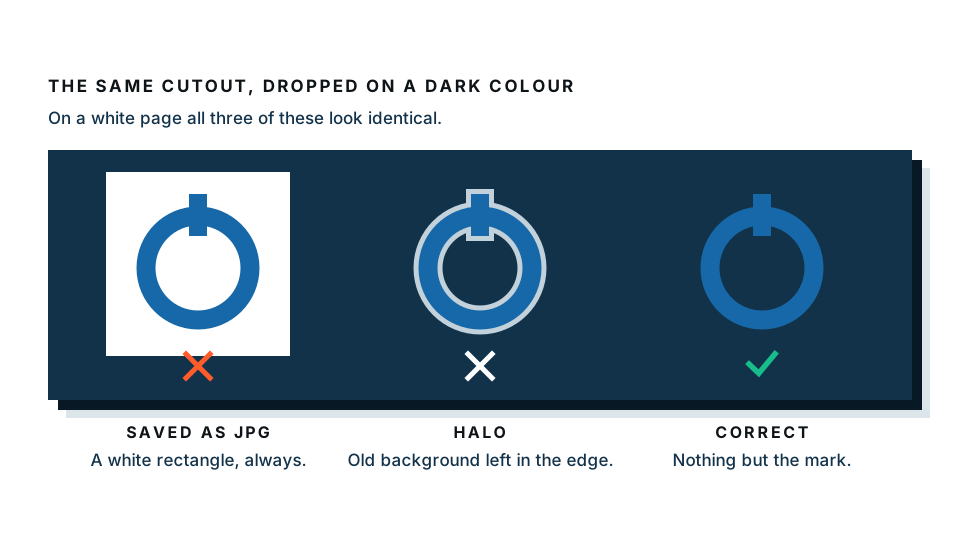
Download the cutout as a PNG. JPG cannot store transparency — save as JPG and you get your cutout on a white rectangle, which defeats the whole point.
Step 4: stack the layers
In Instagram Stories:
- Start a new story and add your Strava image as the background.
- Copy your transparent PNG to the clipboard, or open your photos, select the PNG and copy it.
- Back in Stories, tap the screen. A Add sticker prompt appears with your copied image.
- Pinch to resize, drag to place, and rotate with two fingers.
- Position yourself so the route line runs behind you, not through your head.
On desktop, any free layout tool with layers does the same job. Put the Strava image on the bottom, the PNG on top.
What size should the image be?
Instagram compresses anything that is not close to its native sizes, and compression is what makes overlays look muddy.
| Placement | Pixel size | Ratio |
|---|---|---|
| Story or Reel cover | 1080 x 1920 | 9:16 |
| Feed post, portrait | 1080 x 1350 | 4:5 |
| Feed post, square | 1080 x 1080 | 1:1 |
Two rules that fix most quality complaints: upload the actual file rather than a screenshot of it, and do not upscale a small image to fit. A screenshot is already compressed once, so Instagram compresses a compressed file.
Ready for the cutout? Open the background remover — it takes a few seconds and you can see the result before committing to anything.
Five overlay ideas that work
- The finish line. Cut yourself out mid-celebration, put the route behind you, keep only distance and time.
- The streak. Overlay a week of route lines on one photo. Each run in a slightly different opacity.
- The before and after. Split screen — your face at the start, your face at the end, stats down the middle.
- The map as texture. Blow the route line up until it is abstract, use it as a background pattern behind your cutout.
- The club post. Cut out three or four people from separate photos, arrange them along the shared route.
Common problems and quick fixes
The stats sit on a busy part of the photo. Move your cutout instead of the stats. Shift yourself to one side and let the numbers breathe in the empty space.
The edges of my cutout look harsh. Scale the PNG down slightly. Small imperfections disappear at story size.
My route reveals my home address. Set a privacy zone in Strava under Settings, Privacy Controls, Map Visibility. It hides a radius around any address you name, on every past and future activity.
The colours clash. Strava’s default orange fights with a lot of photos. Choose a layout with white text and let the photo carry the colour.
The privacy angle, briefly
Two separate things live in these posts: your location data and your photo. Strava’s privacy zones handle the first. For the second, it is worth knowing where your image goes when you edit it. Our free preview does the whole cutout in your browser, so nothing is uploaded while you are experimenting. If you go on to buy a full-resolution download, that one file is processed on our server — we would rather say so plainly than pretend otherwise.
Your five-minute checklist
- Export the activity from Strava as an image, three stats maximum.
- Shoot or pick a photo with a clean edge around you.
- Remove the background, check the hair, save as PNG.
- Stack in Stories: Strava image behind, cutout in front.
- Export at 1080 x 1920 and upload the file, not a screenshot.
That is the whole workflow. The hard part was the run.
Make your cutout now — free preview, nothing uploaded, and you will have your transparent PNG before your legs stop aching.
Frequently asked
How do I get my Strava activity onto an Instagram story?
Open the activity in the Strava app, tap the share icon, and choose Share as image. Pick a map or stat layout, then send it to Instagram Stories. Strava does the export for you.
Can I put a photo of myself on top of a Strava map?
Yes. Cut yourself out of a photo with a background remover to get a transparent PNG, then add that PNG as a sticker on top of your Strava image in Instagram Stories.
Why is my Strava overlay blurry on Instagram?
Instagram compresses images that are not the right size. Export at 1080 x 1920 pixels for stories and 1080 x 1350 for feed posts, and upload the file rather than screenshotting it.
Do I have to make my Strava activity public to share it?
No. Sharing an image from the Strava app creates a picture of your data. Your activity privacy settings stay exactly as you set them.
Is there a free way to remove the background from my running photo?
Yes. Our free preview runs entirely in your browser, so your photo is never uploaded anywhere. You see the cutout before you decide to do anything else.