Transparency
How to Remove the Background From Your Signature
Turn a photographed or scanned signature into a clean transparent PNG you can drop into any document, contract or email — plus how to keep it secure.
You need to sign something and send it back. Printing, signing and scanning is a fifteen-minute round trip. A transparent signature image turns that into ten seconds, forever.
This guide covers how to capture a signature well, how to make the background genuinely transparent, and the security precautions worth taking with a file that represents your name.
Quick summary: sign in black ink on white paper, photograph it flat in even daylight, crop closely, remove the background, and save as PNG. Then store the file somewhere sensible.
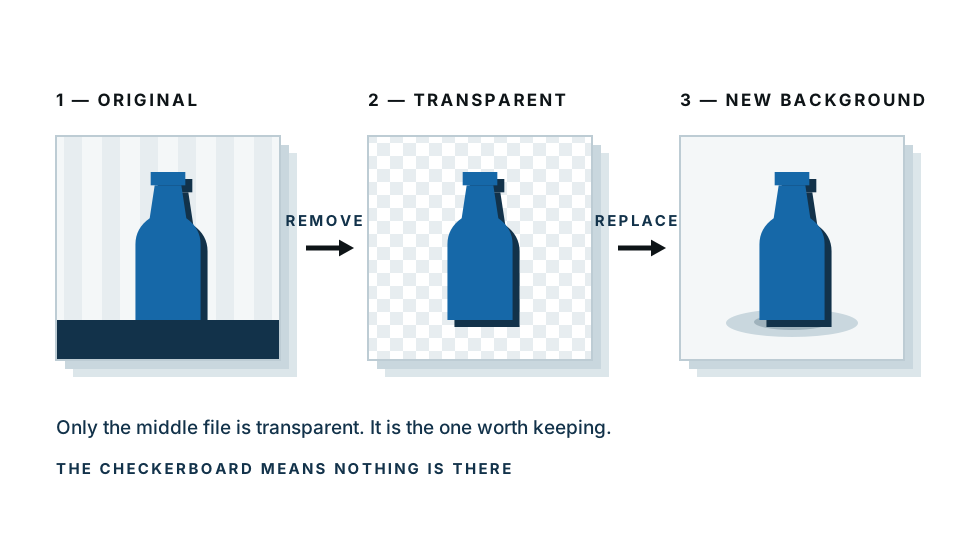
Already have a photo of your signature? Make the background transparent — the free preview runs entirely inside your browser, so this particular file is never uploaded.
Step 1: Sign it properly
The capture determines everything. Five minutes here saves a lot of fiddling later.
- Use white paper. Unlined and unwatermarked. Lines and watermarks survive the removal process and appear faintly in your final file.
- Use black ink, thick. A fine ballpoint produces a thin, patchy line that partly disappears when the background is removed. A fibre-tip pen, a gel pen or a fountain pen gives a solid dark stroke.
- Sign larger than usual. Two or three times normal size. More pixels along each stroke means better quality when you scale it down. Scaling down is easy; scaling up is not.
- Sign several times. Five or six on the same sheet. Pick the best one afterwards — you will not want to repeat this.
- Press evenly. Gaps in the stroke become gaps in the final image.
Step 2: Capture it
With a scanner (best result)
- Set the scanner to at least 600 DPI.
- Scan in greyscale or colour, not black and white — black and white mode makes hard decisions that lose the softness of the stroke.
- Save as PNG or TIFF, not JPG. JPG compression creates faint artefacts around every stroke.
With a phone (perfectly good)
- Lay the paper on a flat surface near a window.
- Turn the flash off. Flash creates a bright hotspot and hard shadows.
- Hold the phone directly above the paper, parallel to it. Tilting causes a skewed, keystoned signature.
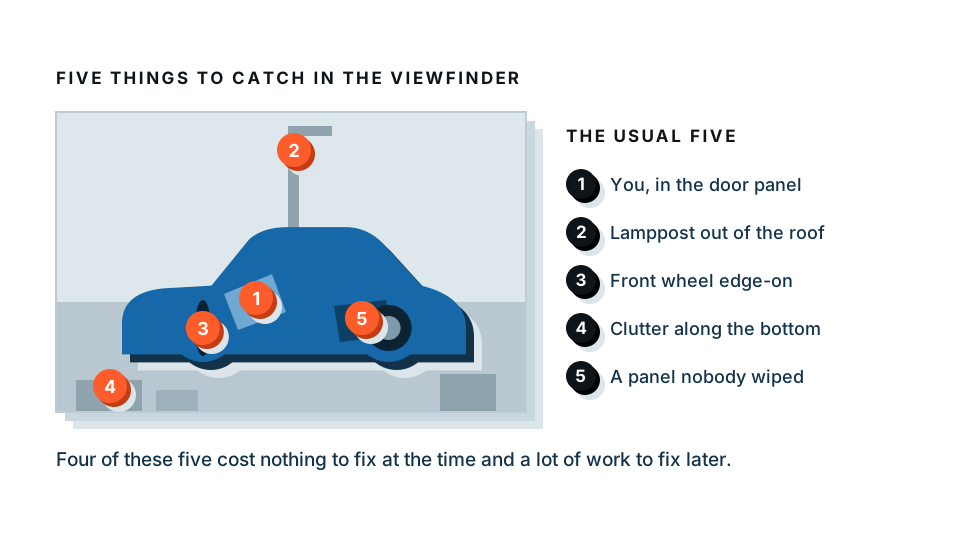
- Make sure your own shadow is not on the paper. This is the most common problem. Position yourself so the light comes past you, not through you.
- Tap the signature to focus, and check the shot is sharp before moving on.
- Take several.
Some phone scanner apps flatten the perspective and boost contrast automatically. These work well for signatures — just avoid any mode that heavily sharpens, which creates a halo around each stroke.
Step 3: Crop tight
Crop right down to the signature itself, with just a small margin. Two reasons:
- The removal tool has less irrelevant material to consider.
- The final PNG has no wasted transparent space, so it positions predictably in documents.
Step 4: Remove the background
- Open the transparent background maker.
- Drop your cropped signature in.
- The paper is removed and the ink kept.
- Check the preview — the checkerboard behind the strokes means real transparency.
- Download as PNG.
The free preview runs entirely on your own device. For a signature this matters more than for most images: it is a file that represents your identity, and it is worth knowing it did not travel anywhere while you were working on it. If you buy the full-resolution download, that one file is processed on our server — stating that plainly is part of the point.
What to check
- Stroke continuity. Are any thin parts of the signature broken or missing?
- No paper tint. Look at the areas inside loops in letters — they should be transparent, not slightly grey.
- No shadow remnant. A faint dark band along one edge means the original had a shadow.
- Edge quality. Zoom in. The stroke edges should be smooth, not jagged.
Doing it manually
In Photoshop
The Levels method gives the cleanest signature result:
- Open the image, Image → Mode → Greyscale.
- Image → Adjustments → Levels. Drag the white input slider left until the paper is pure white, and the black slider right until the ink is solid black. Do not overdo the black slider — it thins the stroke.
- Select → Colour Range, click the white paper, adjust Fuzziness, click OK.
- Press Delete (unlock the layer first if needed).
- Select → Inverse and check only the ink remains.
- File → Export → Export As → PNG with Transparency ticked.
In GIMP
- Layer → Transparency → Add Alpha Channel.
- Colours → Levels to clean up the contrast as above.
- Colours → Colour to Alpha, choose white. This converts white to transparency while keeping the soft grey edges of the strokes, which produces a very natural result for handwriting.
- File → Export As, filename ending .png.
Colour to Alpha is genuinely the best manual technique for signatures because it preserves anti-aliased stroke edges rather than cutting them off.
Fiddling with sliders and not getting a clean result? Try the automatic version and compare — it takes seconds and the preview is free.
Step 5: Use it
In a PDF
Most PDF readers let you add an image stamp or a signature. In Adobe Acrobat Reader, use Fill & Sign → Sign → Add Signature → Image, and choose your PNG. Many readers store it for reuse.
In Word or Google Docs
Insert → Picture, then set text wrapping to In Front of Text so you can position it freely over a signature line. In Google Docs, choose Insert, Image, then set the wrap mode.
In an email signature
Keep it small — around 200 pixels wide is plenty. A large signature image in every email is both unnecessary and slightly odd.
The security part, which matters
A signature image is a piece of your identity. Treat it accordingly.
Sensible precautions:
- Store it somewhere private. Not in a shared drive folder, not in a cloud folder that syncs to a team, not on a desktop that others use.
- Do not email it as a loose attachment. Send the signed document, not the signature file.
- Do not post it. Signatures shared in screenshots and social posts are a genuine fraud vector.
- Use a variant. Some people keep a slightly different signature for image use than the one on their bank mandate, so a copied image cannot be matched exactly.
- Prefer local processing. Any tool that uploads the file is one more place it exists. The in-browser preview avoids that entirely.
- Delete the intermediate files. The original photo, the cropped version, the versions in your camera roll and your downloads folder. Keep one master in one place.
Is an image signature legally binding?
This depends on your country and the type of document, and this guide is not legal advice.
Broadly: many jurisdictions accept a range of electronic signature forms for ordinary agreements, but a pasted image is at the weaker end because it carries no evidence of who applied it or when. Dedicated e-signature services add an audit trail — identity verification, timestamps, IP records — which is what actually makes a signature defensible if it is ever challenged.
A reasonable rule of thumb:
| Document | Approach |
|---|---|
| Internal forms, letters, informal approvals | Image signature is fine |
| Supplier agreements, NDAs, employment documents | Use an e-signature service |
| Property, wills, powers of attorney, court documents | Follow the specific legal requirements — often wet ink or a witnessed process |
Common problems
The signature looks grey and faint. The original was underexposed or the ink too light. Increase contrast with Levels first, or re-sign with a thicker pen.
Parts of the stroke are missing. The pen skipped, or the contrast adjustment was pushed too far. Re-sign, and be gentler with the black slider.
There is a faint grey rectangle behind it. Paper tint survived. Use Colour to Alpha, or raise the removal threshold slightly.
A white box appears in my document. You saved a JPG. Re-save as PNG.
It looks blurry when I enlarge it. The original capture was too small. This is why signing large matters.
The five-minute version
Sign large in black ink on plain white paper. Photograph it flat in daylight with no shadow. Crop tight. Remove the background. Save as PNG. Store it somewhere private.
You will use the result hundreds of times.
Make your transparent signature — free preview, processed entirely on your own device, and nothing about the file leaves your machine while you check it.
Frequently asked
How do I get a transparent signature from a photo?
Sign on plain white paper in black ink, photograph it in even daylight, crop closely, then remove the background and save as PNG. The transparency is what lets it sit on any document.
Why does my signature have a white box around it?
It was saved as JPG, which cannot store transparency. Save as PNG instead, or the white rectangle will cover whatever is underneath it in your document.
Should I use a scanner or my phone?
A scanner gives the cleanest result. A phone works well if you shoot in even daylight with no shadow across the paper and hold the camera parallel to the page.
Is it safe to upload my signature to a website?
A signature image is sensitive. Our free preview processes the image entirely inside your browser, so it is never uploaded, which is the safer default for this kind of file.
Is a pasted signature image legally binding?
It varies by country and document type, and an image alone often carries less legal weight than a proper e-signature. For contracts, use a dedicated e-signature service.