Product photography
Print-on-Demand Challenges and How to Overcome Them
The real problems in print-on-demand — thin margins, returns, artwork quality and mockups — and practical fixes for each, including the transparency trap.
Print-on-demand looks like the easiest business in retail. No stock, no warehouse, no upfront cost. Upload a design, someone buys it, someone else prints and ships it.
Then reality arrives: margins thinner than expected, returns from customers who saw a mockup and received something different, artwork rejected for reasons nobody explained, and a listing that took two hours to produce and made four pounds.
None of these are fatal. Each has a specific fix. This guide covers the six that actually cost sellers money, in the order they bite.
Quick summary: most print-on-demand problems trace back to two things — artwork prepared wrongly, and listings that overpromise. Fix those and the rest of the business gets much easier.
If your artwork still has a background on it, fix that first. Make it transparent here — the free preview runs in your browser, so your designs are not uploaded anywhere.
Challenge 1: The white box on your design
This is the most common technical failure and the easiest to fix.
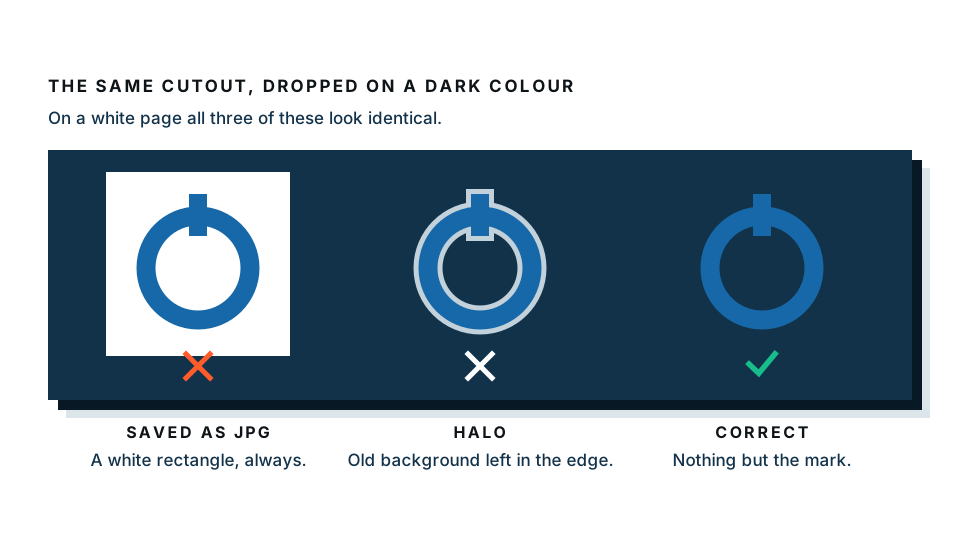
What happens: you upload a design saved as JPG. JPG cannot record transparency, so the empty area around your design is white. The printer prints exactly what you sent — your design inside a white rectangle. On a black shirt, this is unmissable.
Why it slips through: on your screen, against a white page, the box is invisible. It only appears when the garment is not white.
The fix:
- Prepare your artwork with a transparent background.
- Save as PNG, never JPG. PNG has an alpha channel — an extra piece of information per pixel recording how transparent it is.
- Check it: open the PNG and look for the grey checkerboard pattern behind your design. That pattern means genuine transparency.
- Better check: place the PNG over a black rectangle in any editor. Any white box will be obvious immediately.
If you have artwork that already has a background — a scan, a photo, a design you bought — run it through a transparent background maker before uploading.
Challenge 2: Resolution and print quality
What happens: the design looks sharp on screen and prints soft or pixelated. Or the supplier rejects it outright.
The rule: print needs 300 DPI at the final printed size. Screens need 72 to 150. That difference is why a web-quality image fails at print.
The arithmetic is simple: multiply the printed size in inches by 300.
| Print area | Printed size | Minimum pixels |
|---|---|---|
| T-shirt chest | 12 x 16 in | 3600 x 4800 |
| Small left chest | 4 x 4 in | 1200 x 1200 |
| Mug wrap | 9 x 4 in | 2700 x 1200 |
| Tote bag | 14 x 14 in | 4200 x 4200 |
| Poster, A3 | 11.7 x 16.5 in | 3510 x 4950 |
The fixes:
- Design at final size from the start. Set your canvas to the print dimensions at 300 DPI before drawing anything.
- Use vector where possible. Text, logos and simple shapes should be vector, which scales without any loss.
- Never upscale. Enlarging a small image adds pixels but no detail. The softness always shows in print.
- Check the colour mode. Many suppliers want RGB for direct-to-garment and CMYK for offset print. Getting this wrong causes surprising colour shifts.
Challenge 3: Mockups that set the wrong expectation
What happens: the listing shows a crisp design on a perfectly lit shirt. The customer receives a real garment with real fabric texture and slightly duller colour. They are disappointed, and disappointment becomes a return or a two-star review.
Why generic mockups make it worse: everyone in your category is using the same free mockup files. Your listing looks identical to a hundred others, and none of them show the actual product.
The fixes:
- Photograph the real product. Order one sample of your best seller. Photograph it on a person, in daylight, on a plain background. This single image outperforms every generic mockup.
- Make your own mockup template. Photograph a blank garment once, then cut out your design as a transparent PNG and place it on the photo. Set the design layer’s blend mode to Multiply so the fabric texture shows through — this is what makes a mockup look real rather than pasted.
- Show scale. A design that looks huge in a mockup and arrives palm-sized generates returns. Include a photo with a person wearing it.
- Be honest about colour. Say “heather grey, slightly darker in person” rather than letting the customer find out.
Challenge 4: Margins that do not survive contact with reality
What happens: the product costs £9, you sell at £22, you think the margin is £13. Then the platform fee, the payment fee, the ad spend, the return, and the twenty minutes you spent making the listing all come out of it.
The honest calculation for a single sale:
Selling price, minus base cost, minus platform fee, minus payment processing, minus advertising cost per sale, minus a share of returns, minus your time.
The fixes, in order of impact:
- Cut the cost of producing listings. This is the lever nobody pulls. If a listing takes an hour to produce, you need to sell many units to justify it. If it takes ten minutes, you can afford to test more designs. Reusable transparent artwork, a template mockup and a description formula get you there.
- Reduce returns. Every return is a full loss plus a shipping cost. Accurate photos and clear sizing are the cheapest margin improvement available.
- Raise prices on differentiated designs. Generic designs compete on price. Original ones do not. If your design exists on a hundred other shops, price is the only variable left.
- Sell more per order. A matching set — shirt, tote, sticker — spreads the acquisition cost across more revenue.
- Choose products with better base margins. Mugs, posters and stickers often carry better percentage margins than garments.
Challenge 5: Standing out in a saturated market
What happens: you upload a design and it disappears among thousands of similar ones.
The fixes that work:
- Go narrow. “Funny cat shirt” competes with everyone. “Shirt for people who foster elderly cats” competes with almost nobody, and the people who want it will actually search for it.
- Own a visual style. A shop where every product looks related is memorable. A shop of unrelated designs is a stock library.
- Build the audience before the shop. Sellers who already have a community sell on day one.
- Write listings for people, not keyword tools. Say who the design is for and why it exists.
Challenge 6: Production speed
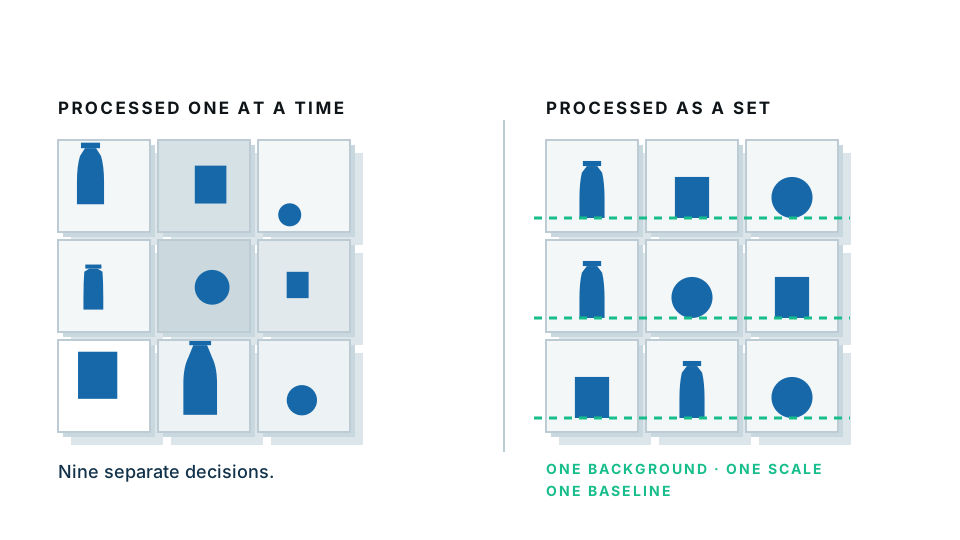
What happens: you have twelve design ideas and it takes a full day to turn each one into a live listing across three products.
The fix is a repeatable pipeline:
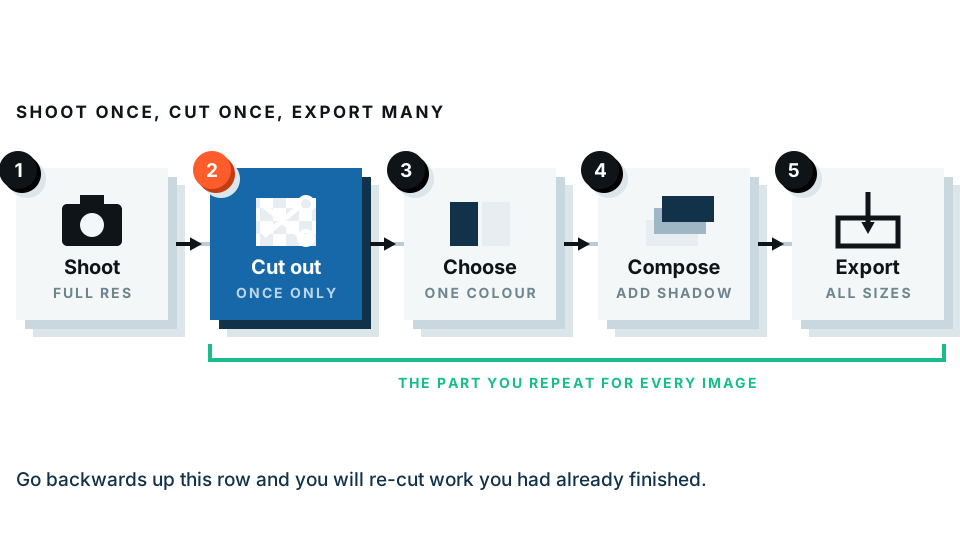
- Design once, at the largest size you will need, as a transparent PNG.
- Keep a master folder of every design as a transparent PNG. This is your actual asset — never delete it, never save over it.
- Build mockup templates once per product type. Placing a new design becomes a drag-and-drop.
- Write a description template with slots for the design name, the audience and the sizing note.
- Batch the work. Do all the designs, then all the mockups, then all the listings. Switching between tasks is where the hours go.
Need to convert existing artwork into reusable transparent masters? Do it here — the preview is free, runs on your own device, and handles a design in seconds.
The artwork checklist before every upload
Run this every time. It takes thirty seconds and prevents most rejections and complaints.
- Format: PNG with transparency, not JPG.
- Resolution: 300 DPI at final print size. Check the pixel dimensions.
- Background: checkerboard visible, no white box. Test over black.
- Edges: no coloured fringe from an old background.
- Colour mode: as specified by your supplier.
- Safe area: design sits inside the printable area, not touching the edge.
- Thin lines: anything under about 2 pixels at print size may not print reliably.
- Text: readable at actual size, not just on screen.
- File size: within the supplier’s limit.
What a thriving print-on-demand business actually looks like
It is rarely the shop with the most designs. It is usually the one with a clear audience, a consistent visual style, real photographs of real products, artwork prepared correctly, a pipeline fast enough to test ideas cheaply, and honest listings that keep returns low.
Nothing on that list is a growth hack. All of it is boring operational quality, which is exactly why most shops never get there.
Start with the piece that touches everything else: clean, reusable, transparent artwork. Make your first transparent master and build the pipeline from there.
Frequently asked
Why does my print-on-demand design have a white box around it?
The artwork was saved as JPG, which cannot store transparency. Save as PNG with a transparent background so only your design prints, not a rectangle.
What resolution should print-on-demand artwork be?
300 DPI at the final printed size. For a 12 inch wide chest print that means at least 3600 pixels wide. Check the exact requirement for each product and supplier.
How do I keep margins healthy in print-on-demand?
Reduce returns and cut the cost of producing listings. Accurate mockups and honest photography lower returns; reusable transparent artwork lowers the cost of every new product.
How can I make my own mockups instead of using stock ones?
Photograph the blank product, cut out your design as a transparent PNG, and place it on the photo with a blend mode so the fabric texture shows through.
What is the most common cause of print-on-demand rejections?
Artwork that fails the supplier's technical check — too low resolution, wrong colour mode, or an unwanted background. All three are avoidable before you upload.