General
How to Enhance Real Estate Photos Quickly and Easily
Make listing photos look bright, clean and honest: shooting basics, sky replacement, agent portraits, and the disclosure rules that keep you safe.
Listing photos are the shop window. Buyers decide in about two seconds whether to click, and they decide on the first image. The good news is that most listing photos are improved dramatically by a handful of basic habits rather than any advanced editing.
This guide covers the shooting habits that matter most, the four edits worth doing, and the line between improving a photo and misrepresenting a property — which matters legally as well as ethically.
Quick summary: get the camera level at chest height, turn every light on, tidy properly, and shoot on a bright but not sunny day. Then do four edits: straighten, brighten, replace a grey sky, and clean up the agent headshot.
Working on your team’s agent portraits? Put them all on a matching background — the free preview runs in your browser, so nothing is uploaded.
Get the shooting right first
Editing cannot fix a badly composed room. These are in order of impact.
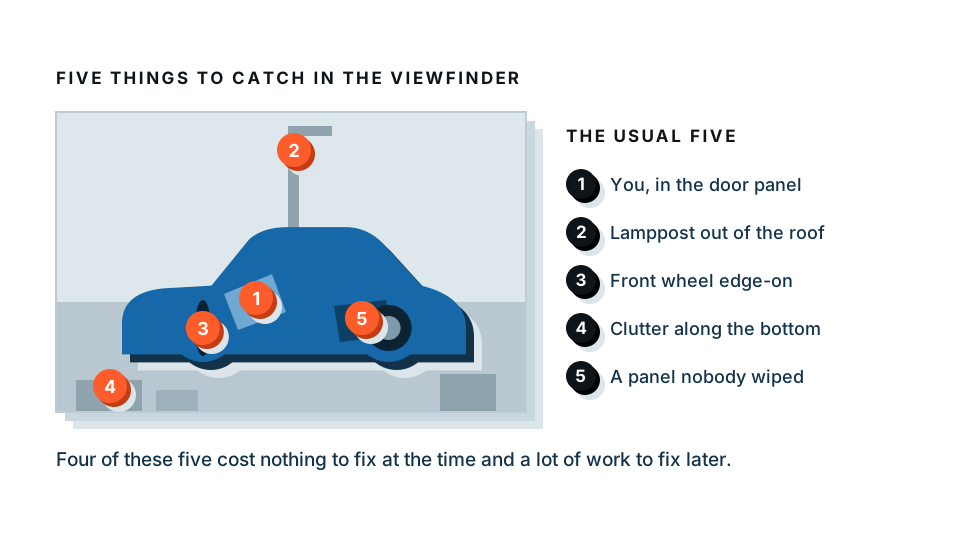
1. Keep the camera level
A tilted camera makes vertical lines converge, so walls lean and the room looks unstable. Hold the camera perfectly level — most phones have a built-in level in the camera grid settings. Turn it on and use it.
2. Shoot from chest height
Roughly 1.2 to 1.5 metres. Eye level makes floors disappear and ceilings dominate. Chest height shows the floor area, which is what buyers are actually assessing.
3. Turn on every light
Every lamp, every ceiling light, every under-cabinet strip. It makes a room feel warm and lived in, and it fills the shadows that make a space look small. Then open every curtain and blind.
4. Shoot from the corner
Standing in a doorway shooting straight ahead gives you one wall. Standing in a corner gives you two walls and the depth of the room. Depth is what makes a space read as large.
5. Tidy far more than feels necessary
Clear every surface. Remove bins, bath mats, toothbrushes, fridge magnets, cables, pet bowls, laundry, and anything on the back of a door. Straighten cushions. Close toilet lids. This is unglamorous and it is the single biggest difference between amateur and professional listing photos.
6. Pick your weather
Bright overcast is the best light for interiors — soft, even, no harsh window blowout. For exteriors, an hour before sunset gives you warm light and a sky with colour in it. Avoid midday sun.
7. Watch your reflections
Check every mirror, window and glass cabinet before you press the shutter. A photographer standing in the hallway mirror is the most common avoidable error in property photography.
The four edits worth doing
Edit 1: Straighten the verticals
Almost every editing tool has a perspective or geometry correction. Straighten the vertical lines of the walls, door frames and windows. It is a two-second adjustment and it instantly reads as professional.
Edit 2: Lift the shadows, hold the windows
Interiors have a huge brightness range — a dark corner and a bright window in the same frame. Raise the shadows and pull down the highlights so the window still shows a view rather than a white rectangle.
If your camera supports it, take three exposures and blend them. If not, most phone HDR modes now handle this well automatically.
Edit 3: Replace a flat grey sky
A blown-out white sky makes an exterior shot look flat and cheap. A replaced sky with light cloud makes the same house look inviting.
This is widely accepted practice because it does not change anything about the property. The rules to follow:
- Use a sky whose light direction matches the house. If the house is lit from the left, the sky’s brightest area belongs on the left.
- Keep it believable. Dramatic sunsets over a suburban semi look obviously fake.
- Match the colour temperature so the house does not look pasted onto the sky.
- Do not replace a sky in a way that hides a genuine feature — a pylon, a neighbouring building, an aerial.
Edit 4: Fix the agent portraits
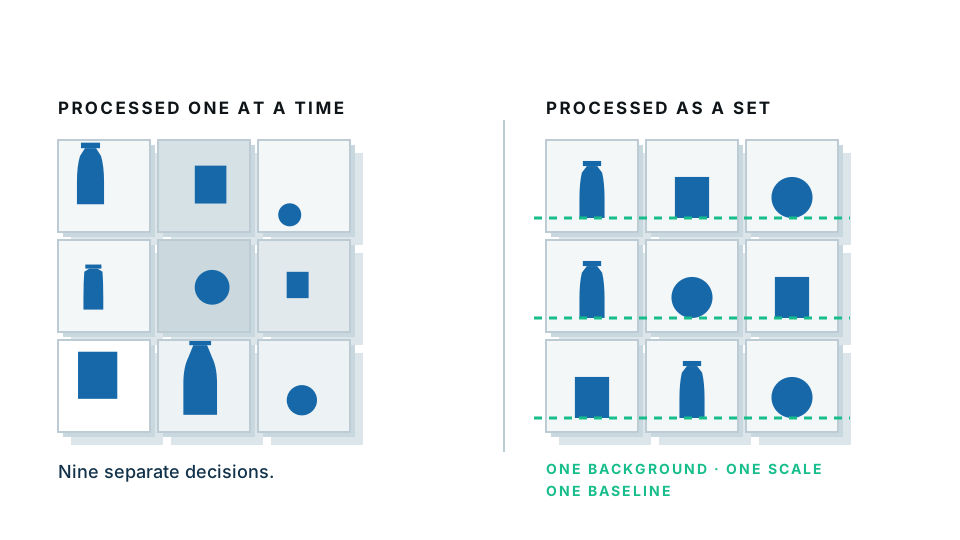
A team of agents photographed in different offices, on different backgrounds, at different times, looks disorganised on a website. Cut them out and place them on one consistent background — clean white, a soft grey, or your brand colour.
- Photograph each agent against a plain wall, a metre away from it, facing a window.
- Open the background changer and drop the photo in.
- Choose a single background for the whole team.
- Crop each one identically — same head size, same eyeline position.
- Export at the same pixel size.
The free preview processes each photo inside your browser, so staff portraits are not uploaded to a service while you work. That is a reasonable default for images of your team.
Where the line is
This is the part that matters most, and it is not complicated.
Acceptable — it does not change the property:
- Straightening, cropping, exposure, colour correction
- Sky replacement
- Removing a movable object that happens to be in shot — a bin, a car in the driveway, a stray cable
- Removing the photographer’s reflection
Not acceptable — it changes what the buyer believes:
- Removing or hiding damage, damp, cracks or stains
- Deleting a fixed feature: a radiator, a supporting column, a low beam
- Removing a neighbouring building, pylon, road or railway
- Widening a room, raising a ceiling or enlarging a window
- Adding features that do not exist
- Making a garden look larger than it is
Requires disclosure:
- Virtual staging — adding furniture to an empty room
- Virtual renovation or “potential” images
- Any composite of a proposed development
Most listing bodies and property portals require staged or altered images to be clearly labelled, and several jurisdictions treat undisclosed alteration as a consumer protection matter. Label every affected image, not just the first one, and use a phrase the buyer cannot miss such as “Virtually staged — furniture is not included”.
The practical test: would a buyer arriving at the viewing feel misled? If there is any doubt, do not do it, or label it.
Virtual staging, done properly
An empty room photographs badly — buyers struggle to judge scale and cannot imagine living there. Virtual staging solves that, and it is legitimate when handled honestly.
- Shoot the empty room properly, level and bright.
- Add furniture at realistic scale. An oversized sofa makes the room look bigger and generates disappointed viewings.
- Match the lighting. Furniture lit from a different direction than the room is instantly obvious.
- Include a shadow under every added item.
- Label it clearly.
- Always publish the unstaged photo too. This is the detail that keeps you safe and, oddly, increases trust rather than reducing it.
A workflow for a whole listing
Twenty to thirty images per property, shot and edited in a repeatable order.
- Before you shoot: walk the property and tidy every room. Allow twenty minutes for this.
- Shoot exteriors first while the light is best.
- Shoot interiors room by room, two angles each, from opposite corners.
- Shoot the details that sell: a fireplace, a window seat, original tiling.
- Import and cull. Pick the best angle per room before editing. Editing everything is where the time goes.
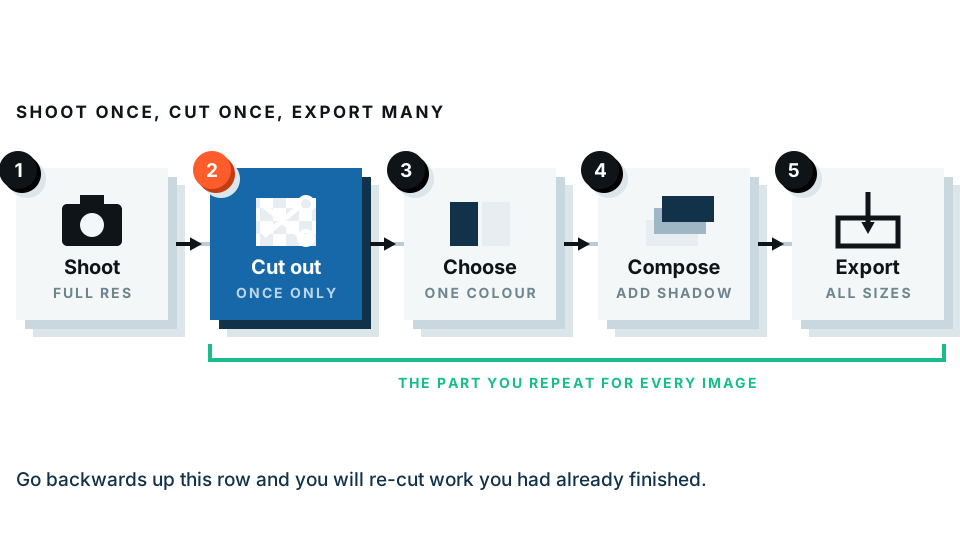
- Batch the basics. Straighten, exposure and colour on all images together.
- Do the individual work: sky replacement on exteriors, any staging.
- Order them for the listing: best exterior first, then main living space, kitchen, bedrooms, bathroom, garden.
- Export consistently at your portal’s required size.
Ready to sort your headshots or swap a background? Open the background changer — free preview, processed on your own device.
Common problems and fixes
Rooms look yellow. Mixed lighting — daylight from a window and warm bulbs indoors. Set the white balance to the dominant source, or turn the lamps off and lift the shadows instead.
Windows are pure white. The exposure range is too wide. Use HDR, or take a second darker frame and blend the window in.
The room looks smaller than it is. Shot from a doorway, or from too high. Shoot from a corner at chest height.
Photos look inconsistent across a listing. Different white balance per room. Set it manually and keep it fixed.
The photo looks over-edited. Excess clarity, saturation and shadow lifting produces an HDR look that buyers now recognise and distrust. Pull it back until it looks like a nice room.
The short version
Tidy properly. Camera level, chest height, corner of the room, every light on. Straighten, brighten, replace a grey sky, and give your agents one shared background. Never change the property itself, and label anything staged.
That is a complete listing workflow, and none of it requires a photography qualification.
Start with your team portraits — one consistent background across the whole team is the fastest visible upgrade you can make.
Frequently asked
What is the quickest way to improve a listing photo?
Shoot at chest height with the camera level, turn every light on, open the curtains, and tidy the room. These four things beat any editing you can do afterwards.
Is it allowed to replace the sky in a real estate photo?
Sky replacement is widely accepted because it does not change the property. Changing anything about the building, the space or the condition is misrepresentation. Check your local listing rules.
Do I have to disclose virtual staging?
Yes. Most listing bodies require virtually staged photos to be clearly labelled. Label every staged image, not just the first one.
How do I make an agent headshot look professional?
Shoot against a plain wall in daylight, then replace the background with a clean white or a soft brand colour so every agent on your team matches.
Can I remove clutter from a room photo?
Removing a small movable item such as a bin or a stray cable is usually accepted. Removing fixed features, damage or anything that changes the buyer's understanding of the property is not.