Phones & tablets
How to Remove Backgrounds from Images on iPhone
Three ways to cut a subject out of a photo on iPhone: the built-in press-and-hold lift, a Shortcuts recipe for batches, and a browser tool.
You have the phone in your hand and you want the background gone now. There are three real routes, and picking the right one takes about ten seconds once you know what each is for.
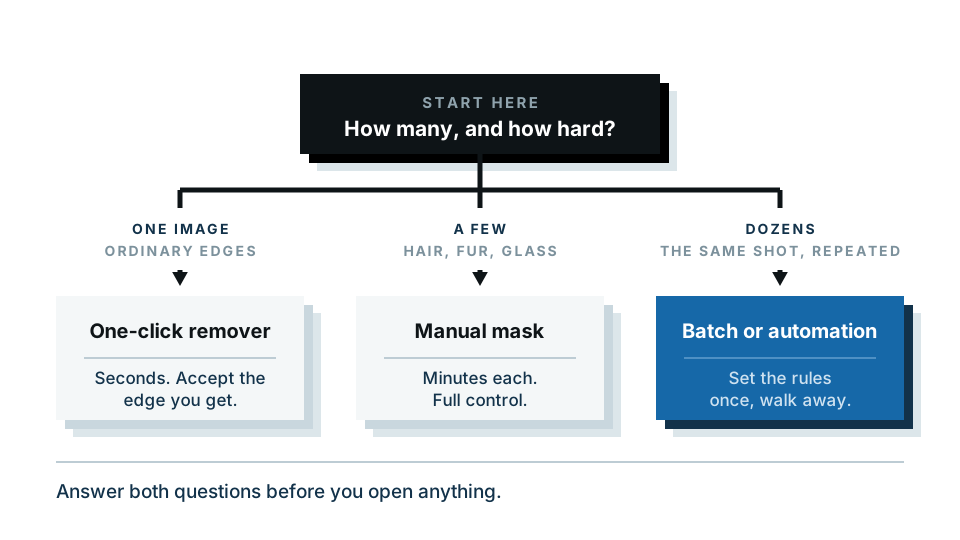
- Press and hold the subject — free, instant, works offline. One photo at a time, and you get whatever edge iOS decides on.
- A Shortcut — automates the same idea across a whole album and saves proper PNG files. Set it up once.
- A browser tool in Safari — for when you need a specific background colour, consistent results across many photos, or full-resolution output.
Open the background remover in Safari → It works on the phone, and the free preview runs in the browser itself.
First: what is a transparent PNG, in plain English?
A normal photo is a solid rectangle. Every pixel has a colour, and there is no such thing as “nothing here”. A PNG can also store an alpha channel — a hidden layer that records, for each pixel, how see-through it is. That is what lets a cutout sit on any background you like without a white box around it.
Two consequences worth remembering:
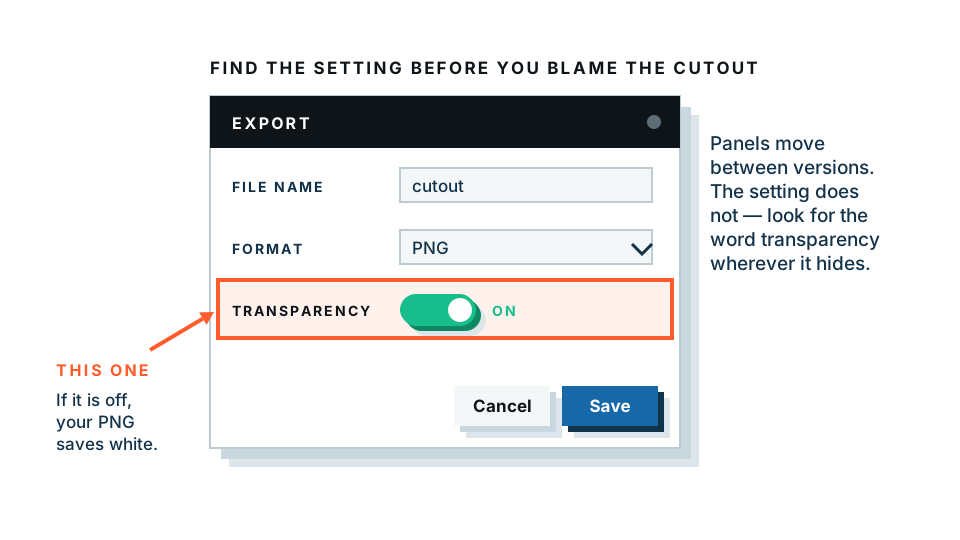
- JPG and HEIC cannot hold transparency. No alpha channel exists in either format. Convert a cutout to one of them and the empty area gets filled in, almost always with white.
- The grey and white checkerboard is not part of the image. It is just how software draws “transparent”. It never prints or exports.
Route 1: press and hold the subject
This is the built-in one, and for a single quick cutout it is unbeatable. Gestures and wording vary by iOS version, but the shape is the same.
- Open the photo — in Photos, a Quick Look preview, a web page in Safari, or a message thread.
- Press and hold directly on the subject for about a second.
- The subject lifts away with a shimmering outline, and a small menu appears.
- Choose Copy to put the cutout on the clipboard, or Share to send it somewhere.
What it is good at: speed, and privacy. It runs entirely on the phone, so it works in airplane mode and the photo is never sent anywhere. For one image, right now, nothing beats it.
Where it falls down:
- No edge control. You get iOS’s answer and no way to argue with it. Wispy hair, fur, glass, or a subject close in tone to the background will come out how they come out.
- No batch. Strictly one photo at a time. Twenty product photos means twenty press-and-holds.
- Paste targets vary wildly. Some apps keep the transparency. Others flatten it onto white the instant you paste, and you often will not find out until it looks wrong. Sharing to Files as a PNG first, then attaching that file, is more reliable than pasting between apps.
- It picks the subject, not your subject. With two people in the shot, you may get the one iOS thinks is important.
Route 2: a Shortcut, for batches
If you have a folder of listings or product shots, doing them one at a time is not a plan. Shortcuts has a Remove Background action you can chain into a loop.
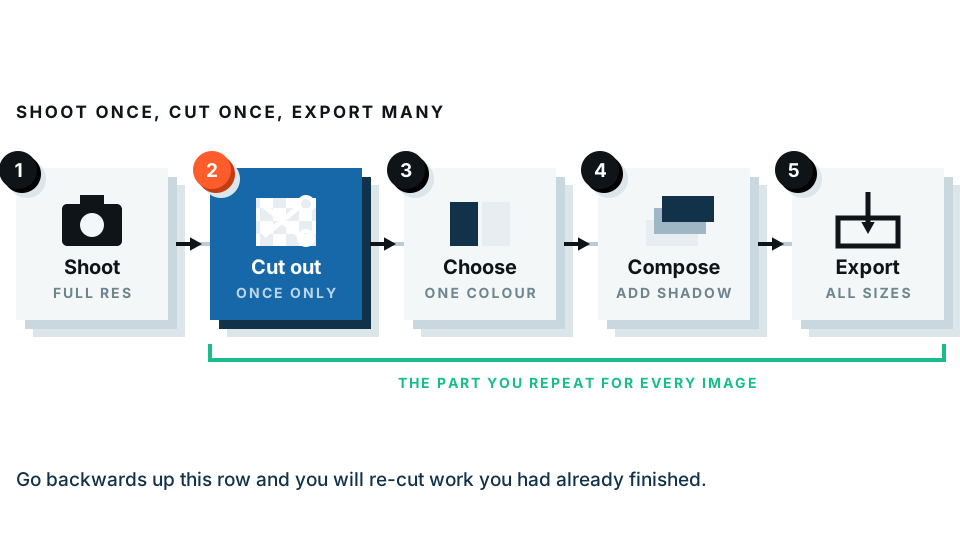
The general shape of the recipe:
- Open Shortcuts and create a new shortcut.
- Add an action that finds photos, filtered by album — so put the batch you want into a dedicated album first.
- Add a Repeat with Each block so every photo runs through the same steps.
- Inside the loop, add Remove Background, taking the current repeat item as its input.
- Still inside the loop, add Convert Image and set the format to PNG. Skip this and the output may be saved in a format that cannot hold transparency.
- Finish the loop with Save File, pointing at a folder in Files. Saving into Photos is less predictable about preserving transparency.
- Run it, and give it time — a large album takes a while.
Action names move around between iOS releases, so treat these as steps to look for rather than exact labels. If something is missing under the name here, search the action list for “background” and “convert”.
Good for: repeatable jobs on the phone with no upload. Not good for: edge control or a specific background colour, neither of which the built-in action offers.
Route 3: a browser tool in Safari
Open a background remover in Safari, tap to add a photo from your camera roll, and you get the cutout back on the same screen.
This is the route when you want something the built-in tools do not offer:
- A specific background colour. Marketplace listings and ID-style photos often need a clean white or a set brand colour, not transparency.
- Consistency across many photos. The same treatment on every image, so a grid of listings looks like a set.
- Full-resolution output. The built-in lift gives you what it gives you. If you need the file at print or listing size, you need control over the output.
- A predictable file. An actual PNG, saved where you put it, instead of a clipboard item at the mercy of whatever app you paste into.
Worth knowing: the free preview runs in the phone’s browser, so the photo never leaves the device. That matters for photos of your kids, an ID document, or an unlaunched product. The paid full-resolution download is processed on our server — we would rather say that plainly than imply the whole thing is offline.
Try it on your phone → No app install, and the preview is free.
Which route should you use?
| Press and hold | Shortcuts recipe | Browser tool in Safari | |
|---|---|---|---|
| Speed | Instant, about two seconds | Slow to set up once, fast after | About as fast as the lift, per image |
| Batch | No — one photo at a time | Yes, a whole album | Depends on the tool; multiple images are practical |
| Edge control | None, you get what iOS gives | None | Best of the three; usually adjustable output |
| Background colour | Transparent only | Transparent only | Transparent, solid colour or a replacement |
| Where the file goes | Clipboard, or a share sheet | A folder in Files, as PNG | A download you choose |
| Leaves the device? | No | No | Free preview: no. Paid full-res download: yes |
Where iPhone quietly destroys your transparency
This is the number one frustration, so it is worth listing the usual culprits.
- Pasting into an app that flattens images. Many messaging, notes and social apps convert whatever you paste. Save as a PNG to Files first, then attach the file.
- Saving to Photos instead of Files. The camera roll leans towards HEIC and JPG. Files respects the format you give it.
- Anything that recompresses on send. Attachments sent as “small” or “medium” get converted. Send at original size.
- Screenshotting the result. A screenshot of a checkerboard is a picture of a checkerboard.
- Emailing it to yourself. Some mail flows re-encode attachments. Use Files or AirDrop instead.
If in doubt, do one test: put the cutout on something dark. If a white box appears, the transparency is gone and you need to go back a step.
Getting a better cutout in the first place
The photo matters more than the tool. Before you cut:
- Separate the subject from the background. A dark jacket against a dark sofa is hard for every tool that exists. Take two steps to one side.
- Get light on the edges. Light behind and slightly to the side of the subject makes the outline obvious to any cutting algorithm.
- Avoid motion blur. A blurred edge has no true boundary to find, so the result will look soft no matter what.
- Expect trouble with hair, fur, glass and mesh. These are genuinely hard and nobody has solved them completely. A plain, contrasting background gets you much closer.
The short version
For one photo, right now: press and hold on the subject. For a whole album: build the Shortcut once and run it forever. For a specific background colour, consistent results or full-resolution output: use a browser tool. Whichever you pick, check the result on a dark background first — that one test catches almost every problem on this page.
Ready to cut something out? Open the background remover in your phone’s browser — the preview is free and stays on your device.
Frequently asked
How do I cut out a subject on iPhone without an app?
Open the photo, press and hold on the subject until it lifts away from the background with a shimmer, then choose Copy or Share. It works in Photos, Quick Look, Safari and Messages on recent iOS versions.
Why did my transparent background turn white?
Something along the way converted the file to JPG or HEIC, and neither format can store transparency. Share the file as a PNG, or save it to Files rather than pasting it between apps.
Can I remove backgrounds from lots of photos at once on iPhone?
Not with press-and-hold, which is strictly one photo at a time. Build a Shortcut using the Remove Background action over an album, or use a browser tool that handles multiple images.
Does the built-in subject lift work offline?
Yes. It runs on the phone itself, so it works in airplane mode and nothing is sent anywhere. That makes it a good choice for private photos when you only need one cutout.
Which method gives the best edges?
It depends on the photo more than the method. Fine hair, fur, glass and motion blur are hard for every tool. A browser tool usually gives you more control over the edge and the output size than the built-in lift does.