Adobe tools
How to Remove Backgrounds in Illustrator
Illustrator is a vector tool, so background removal works differently. Clipping masks, Image Trace and opacity masks explained, with exact menu paths.
Illustrator works with shapes and paths, not pixels. That single fact explains everything odd about removing a background there: no magic wand that follows an edge, no refine-edge brush, no automatic subject detection worth relying on.
What Illustrator does have is precision. If your subject has clean geometric edges, a clipping mask gives you a cutout that stays perfect at any size. This guide covers the three real methods and when each one is the right call.
Quick summary: for a photograph, cut it out elsewhere and place the transparent PNG in Illustrator. For vector artwork or a hard-edged object, use a clipping mask. For turning a photo into flat vector shapes, use Image Trace.
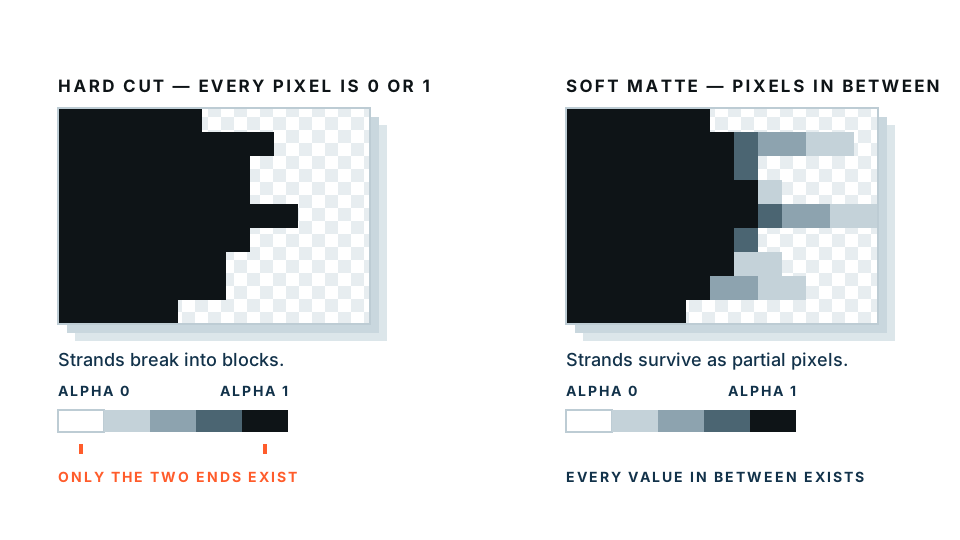
If your image is a photograph, the fastest honest route is to remove the background automatically and place the resulting PNG — the free preview runs in your browser with no upload.
Method 1: Clipping mask (the main technique)
A clipping mask is a shape that hides everything outside itself. Your image stays intact underneath; only the visible area changes. Nothing is destroyed, so you can adjust the shape later.
Step by step
- Place your image. File → Place, choose the file, click on the artboard.
- Choose a drawing tool. The Pen tool (P) for precise outlines, or a shape tool for simple geometry.
- Draw around your subject. With the Pen tool, click for corners and click-drag for curves. Follow the edge of what you want to keep. Close the path by clicking your starting anchor point.
- Check your path is on top. In the Layers panel, the shape must sit above the image. If not, right-click it and choose Arrange → Bring to Front.
- Select both. Press Ctrl + A (Cmd + A on Mac) or drag a marquee around them.
- Apply the mask. Object → Clipping Mask → Make, or press Ctrl + 7 (Cmd + 7).
Everything outside your shape disappears. To adjust it afterwards, double-click into the group to enter isolation mode and edit the path directly.
Pen tool tips that actually help
- Zoom to 300% or more before you start. Precision at 100% is guesswork.
- Fewer anchor points give smoother curves. Place them at the extremes of a curve, not along it.
- Hold Alt and click an anchor point to break the handle, letting a smooth curve become a corner.
- Press Ctrl + Z freely. Undo works one anchor at a time.
- For a circle or rectangle, use the shape tool. Do not draw a circle with the Pen tool.
Releasing a clipping mask
Object → Clipping Mask → Release, or Ctrl + Alt + 7. Your shape reappears as an unfilled path and the whole image comes back.
Method 2: Image Trace, for turning a photo into vector
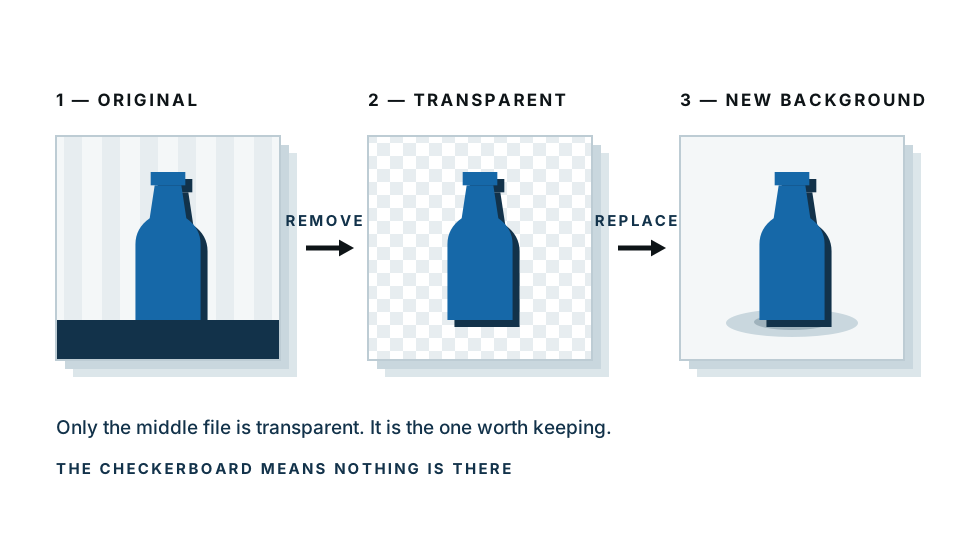
Image Trace converts a raster image into editable vector paths. Once traced, the background becomes its own shape that you can simply select and delete.
This is not a photo-realistic process. Tracing flattens a photo into blocks of colour — great for a logo, a silhouette, a poster-style graphic, and wrong for a portrait you want to look like a portrait.
- Select your placed image.
- Open Window → Image Trace.
- Choose a preset. Black and White Logo for a simple mark, 3 Colours or 6 Colours for a graphic, High Fidelity Photo for maximum detail (and a very heavy file).
- Adjust Threshold (black and white) or Colours (colour modes) until the shapes look right.
- Tick Ignore White under Advanced if your background is white — this is often the whole job done.
- Click Expand in the control bar. You now have editable paths.
- Ungroup (Ctrl + Shift + G), click the background shape, press Delete.
When Image Trace is the right tool
- Converting a scanned or low-resolution logo into vector artwork
- Turning a photo into a two-tone graphic for print
- Extracting a signature from a scanned page
- Making a silhouette from a photo
When it is not
- Any photograph that must stay photographic
- Anything with gradients, soft focus or hair
- Images where colour accuracy matters
Method 3: Opacity mask, for soft edges
An opacity mask uses a black-and-white gradient to control transparency — white areas show, black areas hide, grey areas are partly visible. It is the closest Illustrator gets to a Photoshop layer mask.
- Place your image.
- Draw a shape over the area you want to keep and fill it with a black-to-white gradient.
- Select both the image and the shape.
- Open Window → Transparency.
- Click Make Mask in the Transparency panel.
- Untick Clip if the result inverts unexpectedly, and use Invert Mask to flip which side is visible.
This is how you fade an image out at one edge, or blend it into a background colour. It is not a practical way to cut out a person.
Outlining a complex photograph with the Pen tool and losing patience? That is the moment to let an automatic tool do the cutout, then place the PNG. Illustrator will treat it exactly like any other placed image, and the edges will be better than a hand-drawn path around hair.
The honest recommendation: do the cutout elsewhere
Illustrator is superb at what it is for. Removing a background from a photograph is not what it is for, and using it that way costs you time for a worse result.
| Your image | Best tool | Why |
|---|---|---|
| Photo of a person | Automatic remover, or Photoshop | Hair needs pixel-level edges |
| Product with hard edges | Illustrator clipping mask | Clean geometry, scales perfectly |
| Logo to convert to vector | Illustrator Image Trace | This is exactly its job |
| Photo going into a vector layout | Automatic remover, then Place | Fastest path, best edge |
| Soft fade or blend | Illustrator opacity mask | Native, non-destructive |
The workflow most designers land on: cut out in a dedicated tool, place the PNG in Illustrator, build the layout around it. No Pen tool marathon required.
How do you export with transparency?
This catches people out because Illustrator’s Save and Export are different things.
- File → Export → Export As.
- Choose PNG from the format dropdown.
- Tick Use Artboards if you want the artboard bounds rather than the artwork bounds.
- Click Export.
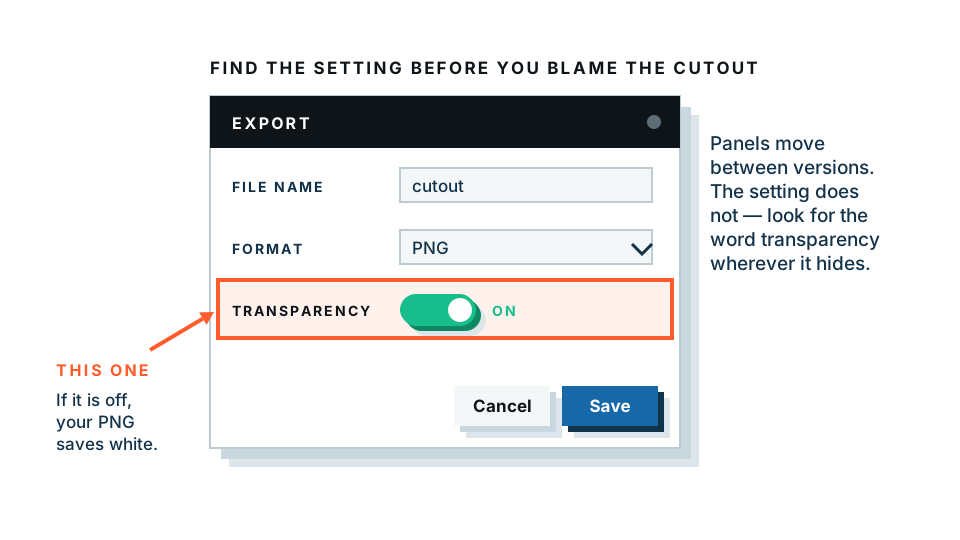
- In the PNG Options dialog, set Background Colour to Transparent.
- Set Resolution — 72 ppi for screen, 300 ppi for print.
- Click OK.
For an SVG, use File → Export → Export As → SVG, or File → Save As → SVG for a fully editable version. SVGs are transparent by default unless you drew a background rectangle — check your Layers panel for one.
Common problems
The clipping mask hid everything. Your shape was behind the image. Undo, select the shape, Arrange → Bring to Front, try again.
The mask applied to the wrong object. You had more than two things selected. Clipping masks use the topmost object as the mask and clip everything below it in the selection.
My exported PNG has a white background. Background Colour was set to White in the export dialog, or you have a white rectangle on your artboard. Check both.
Image Trace produced thousands of paths and Illustrator is crawling. You used a high-fidelity preset on a photo. Reduce the colour count, or accept that this image should stay raster.
The edges look jagged when I zoom in. If it is a placed raster image, that is the image’s own resolution — vector cannot invent detail. If it is a traced path, raise the trace fidelity.
I cannot select the image after masking. Double-click to enter the group, or use the Layers panel to target the image inside the clip group directly.
Quick reference
| Task | Menu path | Shortcut |
|---|---|---|
| Place an image | File → Place | Shift + Ctrl + P |
| Make clipping mask | Object → Clipping Mask → Make | Ctrl + 7 |
| Release clipping mask | Object → Clipping Mask → Release | Ctrl + Alt + 7 |
| Image Trace panel | Window → Image Trace | — |
| Transparency panel | Window → Transparency | Shift + Ctrl + F10 |
| Export as PNG | File → Export → Export As | — |
Use Cmd in place of Ctrl on a Mac.
The five-second version
Vector artwork or hard-edged shapes: clipping mask. Logo to convert: Image Trace with Ignore White. Soft fade: opacity mask. A photograph of a person or product: remove the background automatically, then place the PNG. The preview is free, runs on your own machine, and will take about as long as choosing which Pen tool tutorial to watch.
Frequently asked
Can Illustrator remove a photo background?
Yes, but not automatically. You draw a shape around your subject and apply a clipping mask, or you trace the image to vector and delete the background paths.
Should I use Illustrator or Photoshop to remove a background?
Photoshop, for photographs. Illustrator is built for vector shapes and has no pixel-level edge refinement, so hair and soft edges are much harder there.
What is a clipping mask in Illustrator?
A shape placed on top of an image that hides everything outside it. The image is not deleted, only hidden, so you can adjust the shape at any time.
How do I export a transparent PNG from Illustrator?
File, Export, Export As, choose PNG, then set Background Colour to Transparent in the options dialog. Do not use Save As for this.
Is there a faster way for a photo?
Yes. Use an automatic background remover to get a transparent PNG, then place that PNG in your Illustrator document. It saves the manual outlining entirely.