Adobe tools
How to Remove a White Background in Photoshop
Four reliable Photoshop methods for removing a white background, from the one-click Remove Background action to Blend If for tricky edges.
White backgrounds look easy and often are not. Product photos have soft shadows blending into white. Hair has semi-transparent wisps. Anything white on white is a genuine problem.
Below are four Photoshop methods, ordered from fastest to most controlled. Use the first one that works — there is no prize for doing it the hard way.
Or skip Photoshop entirely for ordinary images →
Before you start: unlock the layer
Photoshop opens flat files as a locked Background layer, and locked layers cannot hold transparency.
In the Layers panel, click the padlock icon beside “Background”, or double-click the layer and press OK. It becomes “Layer 0” and can now be masked.
Do this first, every time. It is the cause of most “why isn’t it working” moments.
Method 1: Remove Background (one click)
The fastest route, and good enough for most product shots.
- Select your layer in the Layers panel.
- Open Window → Properties.
- Under Quick Actions, click Remove Background.
- Photoshop adds a layer mask hiding the background.
When it works: clear subjects, decent contrast, simple shapes.
When it does not: fine hair, transparent objects, white-on-white, and anything where the subject blends into the background.
Fixing the result
The result is a mask, so it is fully editable.
- Click the mask thumbnail in the Layers panel.
- Paint with a black brush to hide more.
- Paint with a white brush to bring areas back.
- Press X to swap between black and white.
- Press \ to see the mask as a red overlay, which makes gaps obvious.
Method 2: Select Subject, then Select and Mask
More control, still fast. This is the method to reach for on people.
- Choose the Object Selection or Quick Selection tool.
- In the options bar, click Select Subject.
- Click Select and Mask to open the refinement workspace.
- Set View to On Layers or On Black so you can see the real edge.
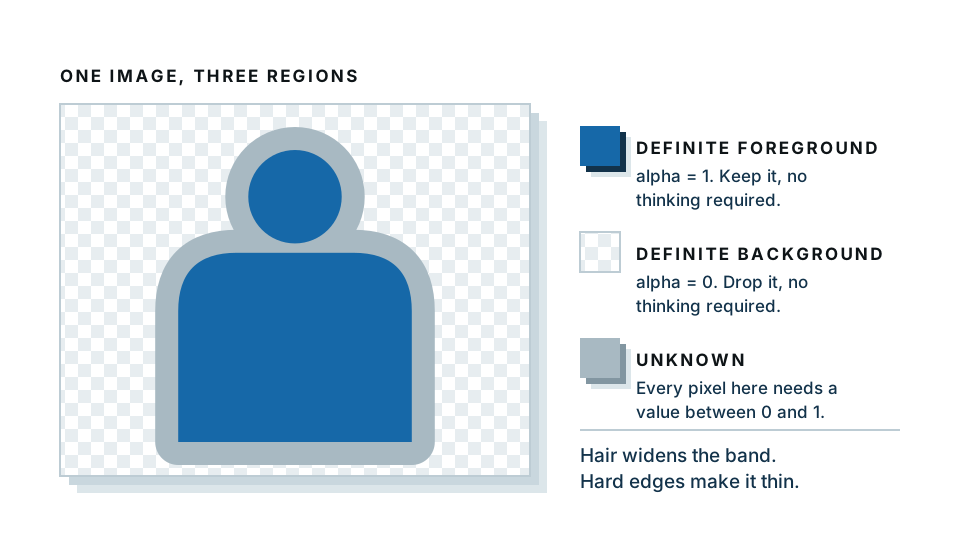
- Use the Refine Edge Brush (second tool down) and paint along hair or fur. This tells Photoshop to work out the fine detail in that zone rather than guessing.
- Adjust the sliders:
- Smooth — 2 to 3, removes jagged steps.
- Feather — 0.5 to 1 px, softens the edge naturally.
- Contrast — leave at 0 unless the edge looks mushy.
- Shift Edge — around −10% pulls the edge inward and kills white halos.
- Tick Decontaminate Colors. This is the setting that removes leftover white fringing.
- Set Output To: Layer Mask and click OK.
The Refine Edge Brush is the single most useful tool in Photoshop for this job. If you learn one thing from this guide, learn that.
Method 3: Blend If (best for pure white backgrounds)
An old technique that is still the cleanest option when the background is genuinely white and the subject contains no white.
- Double-click the layer to open Layer Style.
- Find Blend If at the bottom.
- On the This Layer slider, drag the white triangle from 255 leftward. The white background starts disappearing.
- Hold Alt (Option on Mac) and drag the triangle apart to split it. This creates a gradual transition instead of a hard cut, which prevents crunchy edges.
- Click OK.
- Layer → New → Layer from Visible, or right-click the layer and choose Convert to Smart Object, to make it permanent.
Why it is good: it is based on brightness, so it handles soft shadows and blurred edges beautifully.
Why it is limited: any white in the subject disappears too. A white mug will become a hole.
Method 4: Channels (for hair against white)
The most technical method, and the one professional retouchers still use for hair.
- Open the Channels panel.
- Click through Red, Green and Blue. Pick the one where the subject is most different from the background — usually Blue for skin tones on white.
- Drag that channel onto the New Channel icon to duplicate it.
- With the copy selected, press Ctrl/Cmd + L for Levels. Drag the black and white points inward to push the subject toward black and the background toward pure white.
- Paint any interior areas solid black with a brush.
- Ctrl/Cmd-click the channel thumbnail to load it as a selection.
- Click back to the RGB channel, return to the Layers panel, and press Ctrl/Cmd + Shift + I to invert the selection.
- Click the Add Layer Mask button.
This takes practice, and on difficult hair it beats everything else.
Which method should I use?
| Situation | Method | Time |
|---|---|---|
| Simple product on white | Remove Background | 5 seconds |
| Person, ordinary hair | Select Subject + Select and Mask | 2 minutes |
| Soft shadow blending into white | Blend If | 1 minute |
| Fine or flyaway hair | Channels | 10 minutes |
| White product on white | Channels or manual pen path | 15 minutes |
| Fifty images that all look alike | Not Photoshop — batch tool | Minutes total |
Saving it correctly
This is where people lose an hour of work.
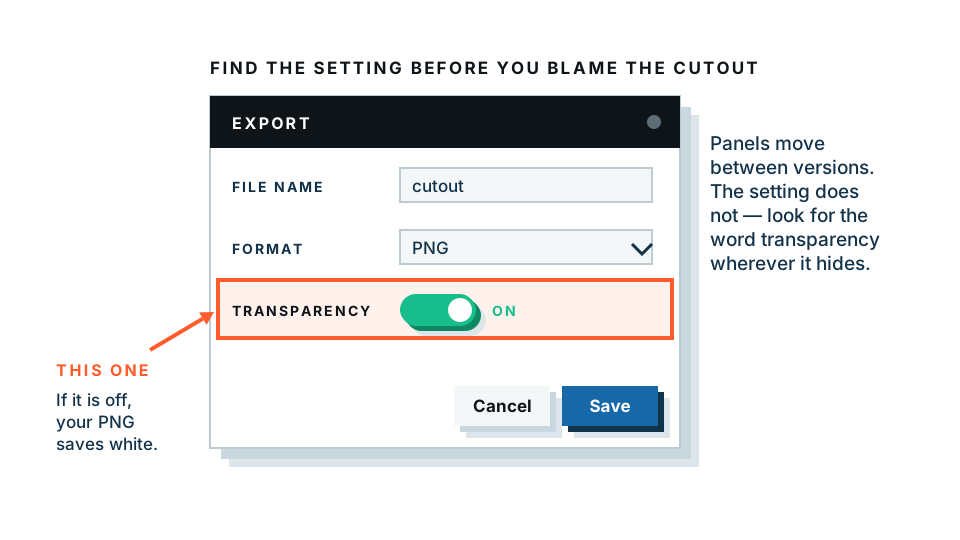
- File → Export → Export As → PNG, with Transparency ticked. This is the correct route.
- JPG has no transparency. Saving as JPG flattens everything onto white, silently.
- Save the PSD too. Your mask is in there, editable.
- TIFF if you need transparency for print.
Common problems
“There is a white line around my subject.” Reopen Select and Mask, push Shift Edge more negative, and make sure Decontaminate Colors is ticked.
“The hair looks like a solid blob.” You skipped the Refine Edge Brush. Paint over the hair zone with it.
“Delete filled the area with white instead of clearing it.” The layer is still locked. Unlock it.
“The edge is jagged.” Add 0.5 px of Feather in Select and Mask, or add a slight Gaussian Blur to the mask itself.
“My white product disappeared.” Blend If cannot tell your white subject from a white background. Use a different method.
When Photoshop is the wrong tool
Photoshop is superb at the hard 10% and slow at the easy 90%. If you have a folder of ordinary product shots, opening each one in Photoshop is a poor use of an afternoon.
For those, use a browser tool. Our free preview processes the image entirely on your own machine — nothing is uploaded — and it takes about a second per image. Then bring only the difficult ones into Photoshop, where the manual control genuinely pays for itself.
Handle the easy 90% in your browser →
Use the right tool per image, not the same tool for everything. That is the whole workflow.
Frequently asked
What is the fastest way to remove a white background in Photoshop?
Select the layer, open the Properties panel, and click Remove Background under Quick Actions. It creates a layer mask in one click. Refine it with a brush on the mask if needed.
Why does my Photoshop cutout have a white edge?
The selection was slightly outside the true edge. Fix it with Select and Mask: shift the Shift Edge slider slightly negative and turn on Decontaminate Colors before outputting.
How do I save a Photoshop file with a transparent background?
Use File, Export, Export As, choose PNG and tick Transparency. Saving as JPG will always flatten the transparency onto white.
Should I delete the background or use a layer mask?
Always use a layer mask. Deleting is permanent. A mask hides pixels and can be edited, inverted or removed at any point.
Do I need Photoshop for this?
No. For ordinary images a browser tool does the same job in seconds. Photoshop earns its place on difficult edges — fine hair, netting, glass — where you need manual control.