People & portraits
10 Tips on How to Create a Professional Profile Picture
Ten practical tips for shooting a professional profile picture with just your phone, covering framing, window light, lens distance and background choice.
You need a decent photo of yourself. It is going on LinkedIn, or a company About page, or a CV, or the top corner of a work Slack profile. You do not have a photographer, a studio or a budget. You have a phone.
That is enough. A phone headshot that follows a few rules beats a badly lit studio photo every time. Here are the ten things that actually make the difference, in the order you should think about them.
Clean up your headshot’s background free → The preview runs in your own browser, so your face never leaves your device.
1. Frame it head and shoulders, with your eyes on the upper third
A profile picture is displayed tiny. On most sites it is a circle smaller than a postage stamp. So fill the frame with the thing that matters: your head and the top of your shoulders, with a little space above your hair.
Put your eyes roughly a third of the way down the frame. This is the single fastest way to make a snapshot look composed. Too much headroom makes you look like you are sinking; too little makes the crop feel cramped.
Shoot a bit wider than you need. You can always crop in later, and many platforms crop to a circle or a square without asking you first.
2. Face a window and turn off the ceiling light
Light is 80% of the result. The good news is that the best light for a portrait is free and probably three metres away from you.
Stand facing a window, roughly a metre back, on an overcast day or in the shade. Window light is large, soft and comes from the front, which fills in the lines on your face and puts a bright catchlight in your eyes.
Two things to avoid:
- Overhead ceiling lights. Light falling straight down carves dark hollows under your brows, nose and chin. It is the single most common reason an office selfie looks grim.
- A window behind you. Backlight tells the camera the scene is bright, so it darkens you. You end up as a silhouette in front of a blown-out white rectangle.
If you can only find one window, put it in front of you, not behind.
3. Step back and zoom, do not shoot close
Phone lenses are wide-angle. Anything close to the lens gets enlarged relative to everything else. At arm’s length that means your nose is exaggerated, your ears shrink and your face looks subtly wrong in a way most people cannot name.
The fix takes ten seconds. Put the phone about 1.5 to 2 metres away, then zoom in until your head and shoulders fill the frame. If your phone has a 2x or 3x telephoto lens, use it. The proportions of your face will look like the ones people see in real life.
4. Use a timer, a tripod or a friend
An arm’s-length selfie forces you into all the problems above at once: too close, one shoulder raised, an angle from slightly above.
Instead, prop the phone at roughly eye height on a shelf, a stack of books or a cheap tripod, and use the self-timer or a smartwatch as a remote. Better still, hand the phone to someone and ask for twenty frames. Photographers do not take one photo. Neither should you.
5. Clean the lens
Your phone lives in a pocket. The lens is covered in a fine film of skin oil, which scatters light and gives every photo a soft, hazy, slightly milky look you will blame on the camera.
Wipe it with a soft cloth or a clean shirt tail before you shoot. It is the cheapest quality upgrade available.
6. Wear a mid-tone solid
Busy patterns are noisy at thumbnail size. Fine stripes and small checks can even shimmer on screen. Logos date the photo the moment you change jobs.
A plain, mid-tone colour in a matte fabric is safest: navy, forest, burgundy, warm grey. Avoid pure white, which tends to blow out next to a window, and avoid a top that matches your background exactly, or your shoulders will melt into the wall.
7. Sort your posture before your expression
Turn your body about 30 degrees away from the camera, then turn your head back towards the lens. A square-on stance reads as a passport photo. A slight angle reads as a person.
Then: shoulders down and back, chin forward and slightly down. Pushing the chin gently towards the camera stretches the jawline. It feels ridiculous. It photographs well.
8. Get a real expression, not a held one
A smile held for eight seconds while the timer counts down looks held. The trick is to shoot in short bursts and reset between them: look away, breathe out, look back at the lens as the shutter fires.
Aim for pleasant and awake rather than delighted. A small smile with active eyes reads as competent and approachable, which is exactly what a work profile is for.
9. Choose your background deliberately
Here is the part most people skip, and it is the one that gives amateur photos away. Not the lighting. Not the lens. The stuff behind your head.
A radiator, a door frame cutting diagonally through the shot, a coat hook growing out of your ear, a kitchen — any of these tells the viewer this was taken in a hurry. Worse, in a team page where every photo has a different room behind it, the whole grid looks disorganised even if each photo is fine on its own.
Swap the background for a clean neutral → and most of the amateur signal disappears in one move.
If you can, shoot against a plain wall a couple of metres behind you, so the wall falls softly out of focus. If you cannot, shoot anyway and replace the background afterwards.
Which background should you use?
| Option | Effort | Consistency across a team | How professional it reads |
|---|---|---|---|
| Plain wall at home | Low — find a wall, stand back | Poor. Every person’s wall is a different colour and texture | Good, if the wall is clean and the light is right |
| Tidy office corner | Medium — clear the desk, check the framing | Poor to fair. Works only if everyone shoots in the same spot | Good. Reads as real and human |
| Studio white backdrop | High — needs paper, stands, space and light | Excellent, if everyone travels to it | Very high, but can feel corporate |
| Replaced background | Low — one upload per photo | Excellent. Every portrait sits on the identical colour | Very high, as long as the cutout edge is clean |
For one person, a good wall is fine. For a team of twelve scattered across three cities, replacing the background is the only realistic route to a matching set.
10. Check it at the size people will see it
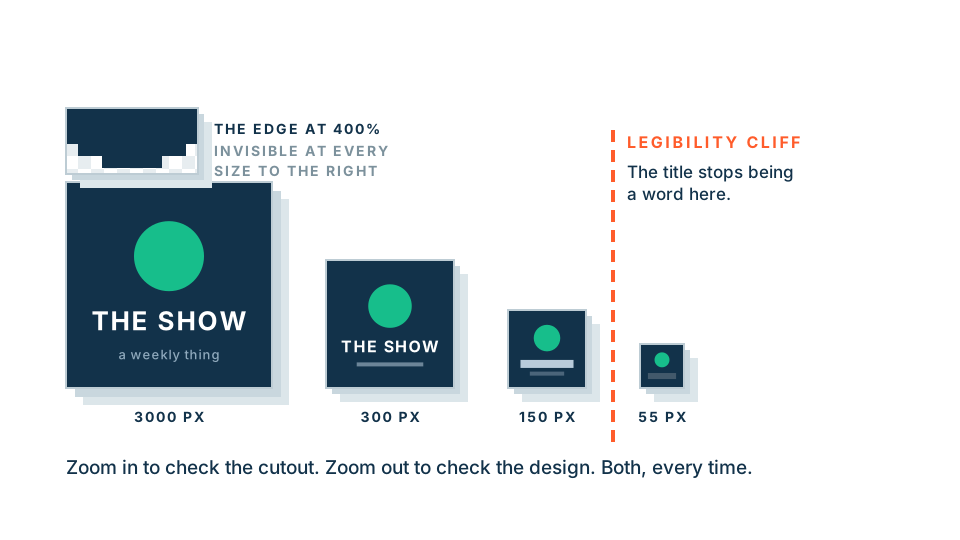
Before you commit, shrink the photo on screen until it is the size of a real profile picture. Squint at it. Can you tell it is you? Are your eyes readable? Is anything distracting still visible?
Nine times out of ten this last check sends you back to crop a little tighter. That is the whole point of doing it.
A note on privacy
A profile photo is a picture of your face, and you may not want it sitting on a stranger’s server. Our free preview does the cutout entirely inside your browser, so the image is never uploaded. If you go on to buy the full-resolution download, that file is processed on our server — worth knowing, so you can decide which part you use.
Be realistic about edges, too. Flyaway hair, wispy fringes and fine knitwear are the genuinely hard cases for any automatic cutout. Tidy hair and a background that contrasts with it will get you a cleaner edge than any amount of retouching afterwards.
Ready to finish yours? Put your headshot on a clean, consistent background →
Frequently asked
Can you take a professional profile picture with a phone?
Yes. A modern phone camera is more than good enough for a LinkedIn photo or a company About page. What separates a good phone headshot from a bad one is light, distance and background, not the camera.
What should you wear for a professional profile picture?
A mid-tone solid colour in a fabric that is not shiny. Avoid busy stripes, small checks and logos, which fight with your face for attention and can shimmer at small sizes. Dress one notch smarter than your normal working day.
What is the best background for a LinkedIn profile photo?
A plain, uncluttered background in a tone that contrasts with your hair and clothing. A clean wall works. So does a soft-focus office. What does not work is a busy room, a doorway or a holiday scene.
How far away should the camera be for a headshot?
About 1.5 to 2 metres, then zoom in to fill the frame. Phone lenses are wide, so shooting from arm's length enlarges whatever is closest to the lens, usually your nose. Stepping back removes that distortion.
How do you get matching headshots for a whole team?
Give everyone the same simple shooting instructions, then standardise the background afterwards so every portrait sits on the same colour. Matching the background after the fact is far easier than getting twenty people into the same room.